
PU Gel Tiles for Decorative Kitchen Walls
For a decorative kitchen area away from flame and high heat, compare our actual smooth PU gel squares. Both references measure 30.5 × 30.5 cm, list 1.3 mm thickness and start at ten pieces. Choose the design beside your cabinet and worktop finishes, then use the square-grid example below to set the piece quantity.
- Choose the actual PU gel design
- Define the decorative kitchen position
- Draw the 30.5 cm square grid
- Evaluate sample and wall application
- Order the required pieces by reference
A Smooth Tile-Look Surface in a Thin Format
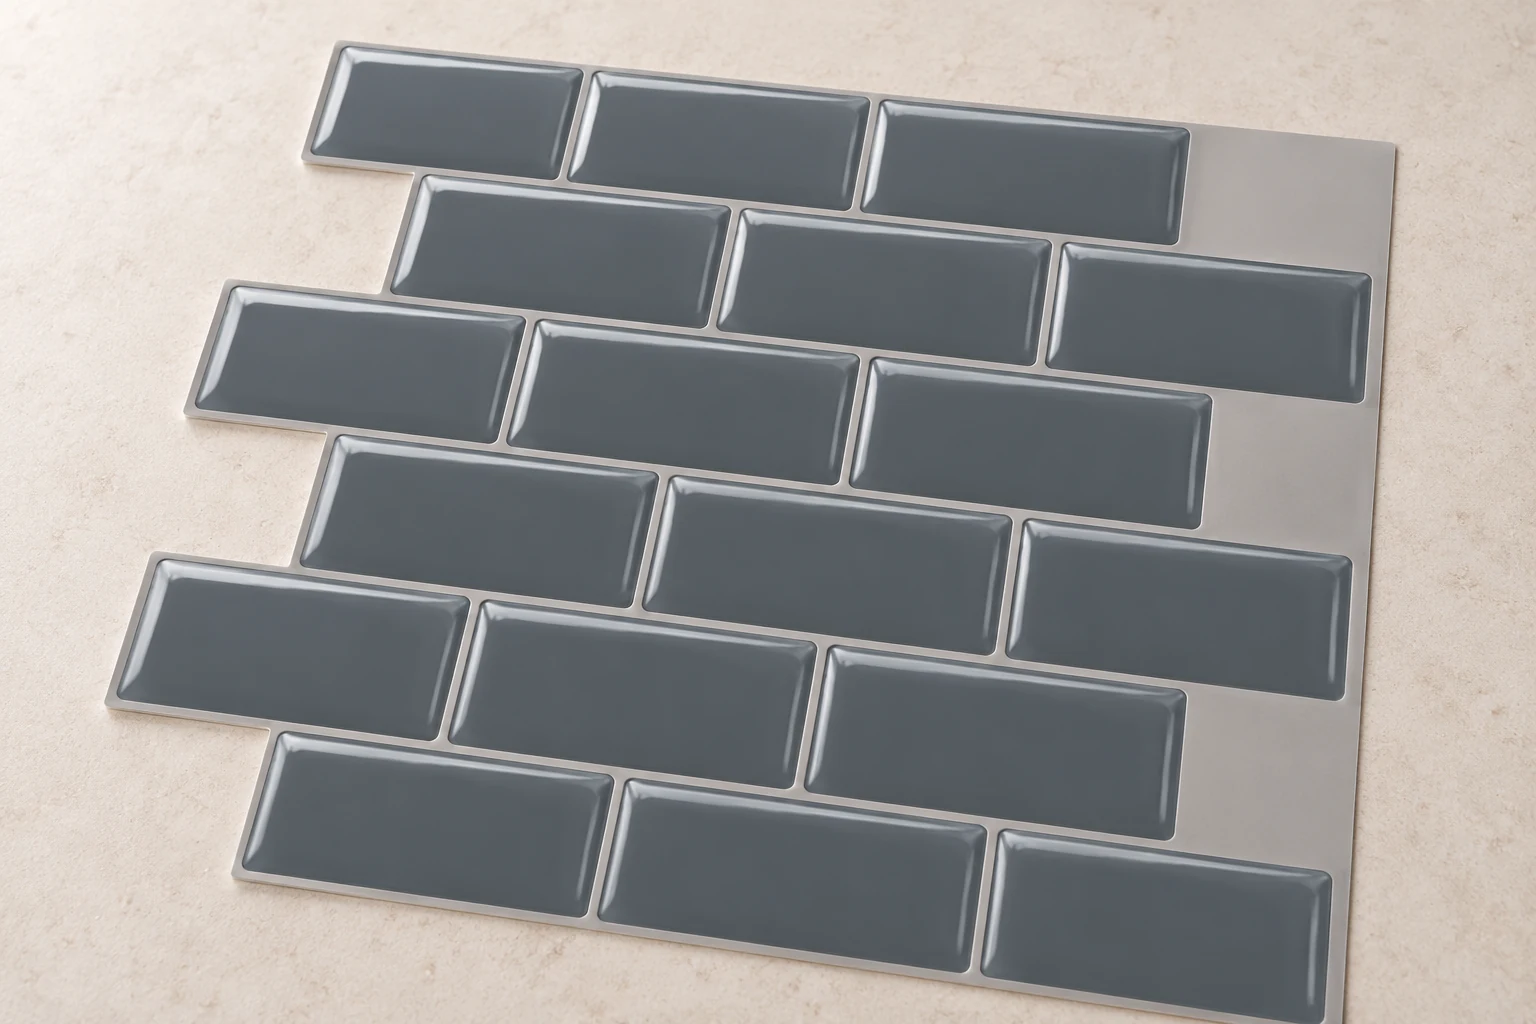
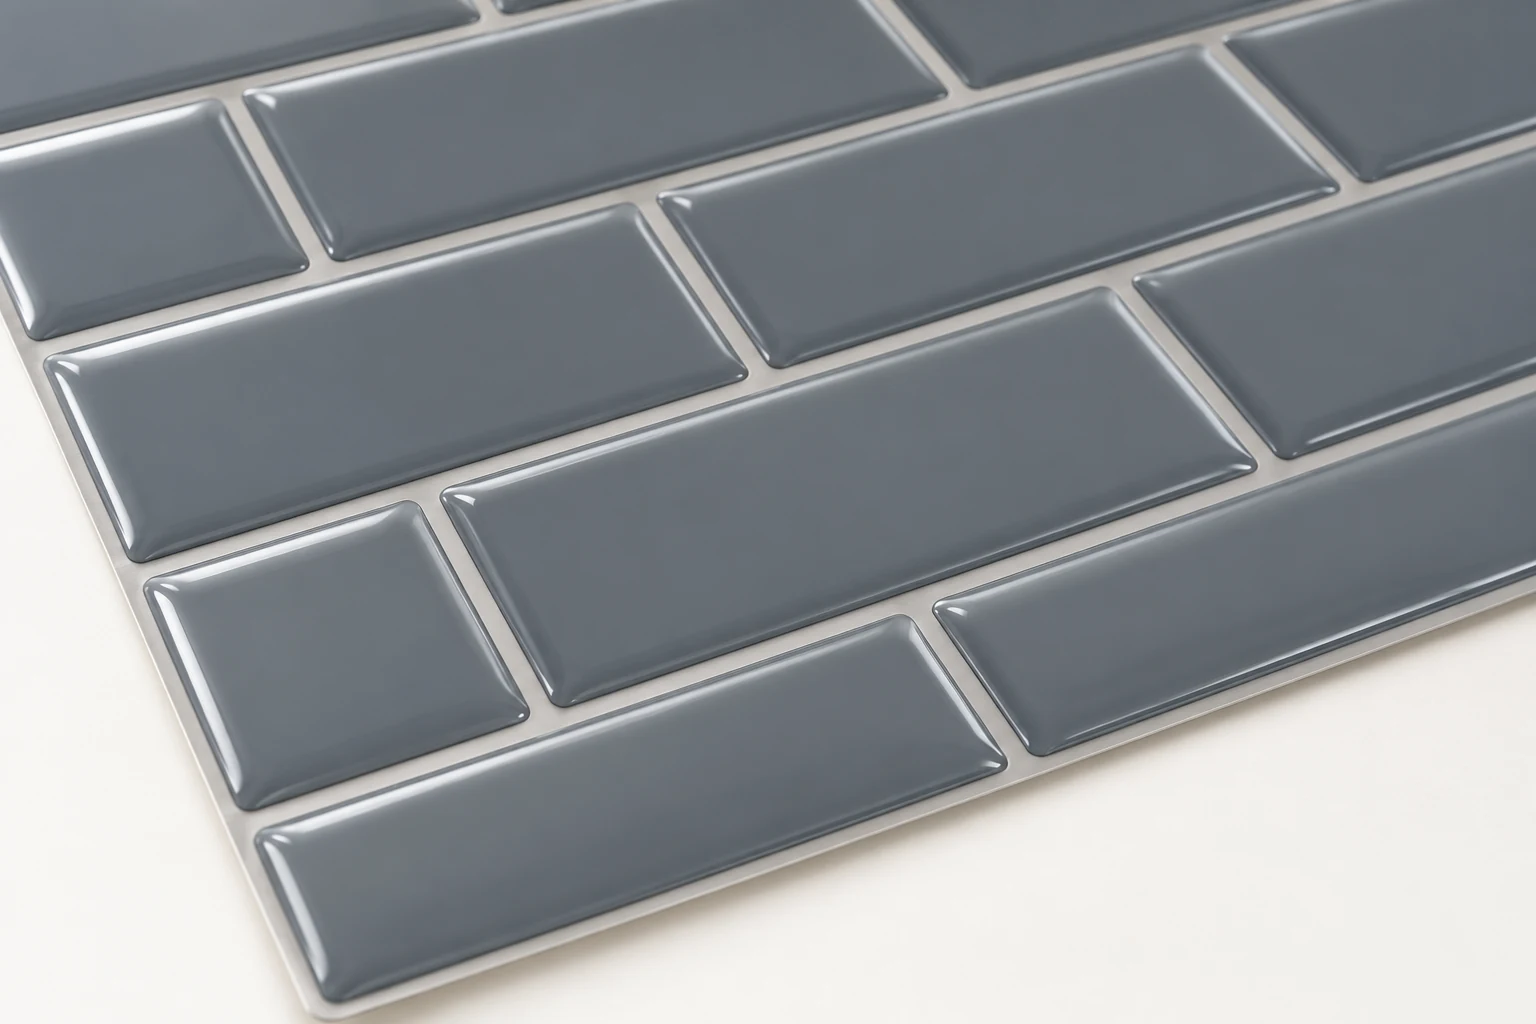
Relia Wallpaper’s smooth self-adhesive PU gel reference is 30.5cm square and 1.3mm thick, with a marble/brick-look mosaic design. Compare a complete piece and its outer edge with an adjoining square. The tile-look lines within the face are different from the boundary between supplied sheets; approve both before using the repeated appearance across the kitchen wall.
Compare the Two References by Their Own Details
Reference 19683 is another actual PU gel option with the same 30.5 cm square size, 1.3 mm thickness, smooth surface and ten-piece minimum. Both offer Multi and numbered labels 1–8. Identify the actual image and sample behind the selected label rather than treating those numbers as physical colours.
Both list waterproof, moisture-proof and heat-insulation functions. Reference 19632 also explicitly lists mould-proof. Keep those ordinary features attached to the selected product; do not transfer a missing feature or assume the two catalogue entries share every construction detail, care method or design.
| Specification | 19632 | 19683 |
|---|---|---|
| Material | PU /PU Gel | PU Gel |
| Format /thickness | 30.5 cm square; 1.3 mm | 30.5 cm square; 1.3 mm |
| Surface /minimum | Smooth; 10 pieces | Smooth; 10 pieces |
| Common functions | Waterproof, moisture-proof, heat insulation | Waterproof, moisture-proof, heat insulation |
| Additional stated function | Mould-proof | Not separately listed |
Position the Decoration Around Kitchen Use
Define the intended decorative zone on a drawing. Mark the cooker, appliances, sink, worktop and outlets, and identify the areas away from flame and high heat that you want covered. The original kitchen/bathroom use descriptions support a decorative shortlist, while the actual appliance and product installation instructions govern the chosen position.
Heat-insulation wording does not provide an operating-temperature limit or appliance clearance. Ask for the selected product's applicable position guidance if your layout raises those requirements. This keeps the purchase useful: you are selecting a PU decorative finish for a defined area, rather than assuming it replaces a heat shield or waterproof wall system.
Choose the Mosaic That Fits the Scheme
Choose the actual mosaic beside your cabinet and worktop finishes. Review a complete square, an adjoining pair and a small cut detail upright under the kitchen’s normal light. Keep the selected label with the approved image and sample. This connects the colour scheme to the supplied edges and pattern instead of relying on a close-up that hides the full sheet.

Lay Out Squares Around the Openings
On an illustrative 1.22m × 0.61m rectangle, four 30.5cm squares fit across and two fit vertically: eight pieces before joint or edge adjustment. Locate outlets and corners on that grid. A cut-out does not automatically save a whole piece; an offcut helps only where its size and pattern direction fit.
Industrial conversion establishes the supplied sheet and outside edge, separately from the mosaic design within its face. Approving adjoining complete squares therefore gives a useful buying reference without needing an assumed manufacturing recipe.
- Industry distinction: decorative face and material
- Define the supplied square and outside edge
- Evaluate adjoining complete sheets
- Translate the approved grid into pieces to order
Retain the measured width/height, 30.5 cm grid, outlets and cuts, usable offcuts and separately agreed spares from the layout plan.
Check the Smooth Finish at Close Range
Inspect the smooth face, outer edges and transition between adjoining pieces against the approved sample, recording any accepted visual variation. Obtain the chosen gel product’s care instructions and trial the proposed cleaner on a sample or offcut. Routine wiping and stronger cleaning requirements should remain separate, since compatibility depends on the selected decorative finish and method.
Translate the Layout into an Order Quantity
One square contains 0.305 × 0.305 = 0.093025 m² of nominal material. Ten pieces contain 0.93025 m². The illustrative four-by-two layout contains eight pieces, equal to 0.7442 m² before joints or trimming, while the published minimum remains ten pieces for either product.
Those two additional pieces arise from the minimum in this example, not from a universal spare rule. A larger or interrupted layout may need another quantity. The source does not state carton contents, so ten pieces must not be described as one carton or an established ten-piece retail pack.
Match the Adhesive Format to the Existing Wall
Before accepting the self-adhesive format, record the actual wall finish, joints, repairs and texture. Follow the selected product’s preparation method and trial representative adjoining pieces, checking the face and outer edges. Resolve loose, damaged or damp conditions first. Keep the approved material and wall combination with the order, and review another kitchen separately when its finish or exposure differs.

Request a Complete Tile Supply Offer
Send the chosen PU gel reference and actual design image with the kitchen elevation, requested pieces and destination. Mark the decorative position away from flame and high heat, plus the wall condition, outlets and exposed edges. Add sample, care and installation-information needs. Obtain actual packing and supply terms separately from the ten-piece minimum so the offer identifies the material, appearance and piece count you intend to receive.
Send Your Kitchen Gel-Tile Layout
Email the selected gel reference and design label with the kitchen elevation, non-high-heat position and requested pieces. Include the actual wall surface, edge or outlet details, destination and sample needs so the reply can follow your approved square layout.
Send these details with your enquiry
- Actual gel design image or label and requested piece quantity.
- Kitchen elevation with square grid, outlets, edges and non-high-heat position.
- Existing wall condition, destination and required sample, care or packing information.
- details
- Qingdao Relia wallpaper Co., Ltd.
- details
- Shuyuan Road, Qingdao, Shandong, China
- details
- [email protected]
- details
- +86 18561762631
- details
- 14042030971